update: 2013/12/15
reference:
1. Using OpenCV 2 with OS X – Hello World | Bert Balcaen
2. Homebrew — MacPorts driving you to drink? Try Homebrew!
3. Troubleshooting · mxcl/homebrew Wiki · GitHub
A. 建置環境:
OS: Mac OS X 10.9
Xcode: 5.0.2
OpenCV: 2.4.6
---------------------------------------------------------------------------------
B. 更新 Java:
(先安裝 JDK: Java SE Downloads)
系統偏好設定 > Java > 更新
---------------------------------------------------------------------------------
C. 更新 / 安裝 Command Line Tools for Xcode:
Xcode > Preferences... > Downloads > Components >
Command Line Tools > Install

如果沒有找到, 就自行下載: (update: 2013/12/15)
> Downloads for Apple Developers
> Categories > Developer Tools >
command_line_tools_os_x_mavericks_for_xcode__late_october_2013.dmg
D. 安裝 Homebrew package manager:
打開終端機, 執行以下指令:
(一整行)
  //ruby -e "$(curl -fsSL https://raw.github.com/mxcl/homebrew/go)"
(update: 2013/12/15)
ruby -e "$(curl -fsSL https://raw.github.com/mxcl/homebrew/go/install)"> 按 "ENTER" 繼續 ....

> 好了之後, 安裝任何軟體前, 先執行:
brew doctor
(說明: brew help)
---------------------------------------------------------------------------------
E. 安裝 python:
1. 檢查是否有安裝 python, 如果沒有的話就安裝.
python -V
2. 安裝 python: (即使已經有 python 了, 還是建議安裝 homebrew 的 python)
brew install python(update: 2013/12/15)
=> Setuptools and Pip have been installed. To update them
pip install --upgrade setuptools
pip install --upgrade pip
(update: 2013/12/15)
=> To symlink "Idle" and the "Python Launcher" to ~/Applications
brew linkapps
---------------------------------------------------------------------------------
F. 安裝 OpenCV:
1. 終端機:
brew tap homebrew/science
brew install opencv
(update: 2013/12/15)
錯誤訊息:
opencv: Unsatisfied dependency: numpy
Brewed Python cannot `import numpy`. Install with:
pip-2.7 install numpy
Error: An unsatisfied requirement failed this build.
=> pip-2.7 install numpy
=>
brew install opencvbrew doctor並參考: Troubleshooting · mxcl/homebrew Wiki · GitHub 的說明.
(相關指令:
brew update, brew doctor, brew --config)---------------------------------------------------------------------------------
G. 建立 Xcode 專案:
1. Xcode > File > New > Project...
OS X > Application > Command Line Tool

Product Name: HelloWorld
Type: C++
> Next

> 並在此群組內, 新增檔案:

> 先打: / (反斜線), 然後就可以輸入:
/usr/local/lib > Go> 接著分別選取以下的檔案:
libopencv_core.dylib
libopencv_highgui.dylib
> 並記得勾選: Copy items .... (但原作者說: 不要勾選)
及勾選: Add to targets
> Add


舉例來說, 如果你要作特徵檢測(feature detection), 你會需要:
libopencv_features2d.dylib 檔案. 4. 告訴 Xcode 哪裡可以找到 OpenCV 的標頭檔:
> 專案 > Build Settings > Search Paths > Header Search Paths :
> 新增:
/usr/local/include
> 專案 > Build Settings > Apple LLVM compiler 4.2 - Language
(update: 2013/12/15)
> libc++(LLVM C++ standard library with C++11 support) 預設的

H. 撰寫 OpenCV 程式:
1. 開啟 main.cpp 檔案, 修改如下:
#include <iostream>
//@add for OpenCV
#include <opencv2/opencv.hpp>
int main(int argc, const char * argv[])
{
// insert code here...
/*
std::cout << "Hello, World!\n";
return 0;
*/
//@add for OpenCV
// load an image
// make sure you change the path!
cv::Mat img = cv::imread("/Lanli/RD/Projects/OpenCV_Mac/HelloWorld/pipi.png");
// check if image was loaded
if (img.data) {
std::cout << "Image loaded" << std::endl;
} else {
std::cout << "Image not loaded" << std::endl;
}
// create a window and show the image
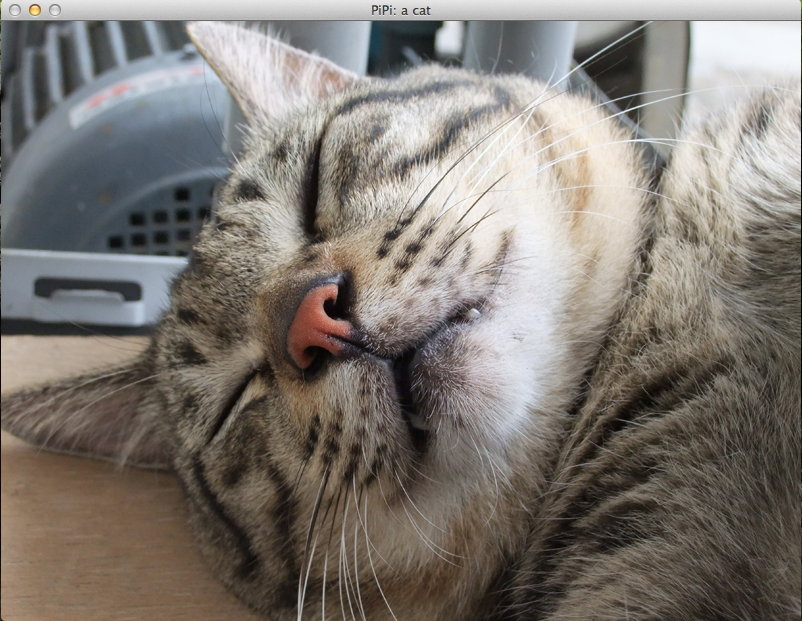
cv::imshow("PiPi: a cat", img);
// wait for a key press
cv::waitKey();
}
2. 編譯並執行: (按任意鍵結束程式)
沒有留言:
張貼留言
注意:只有此網誌的成員可以留言。